
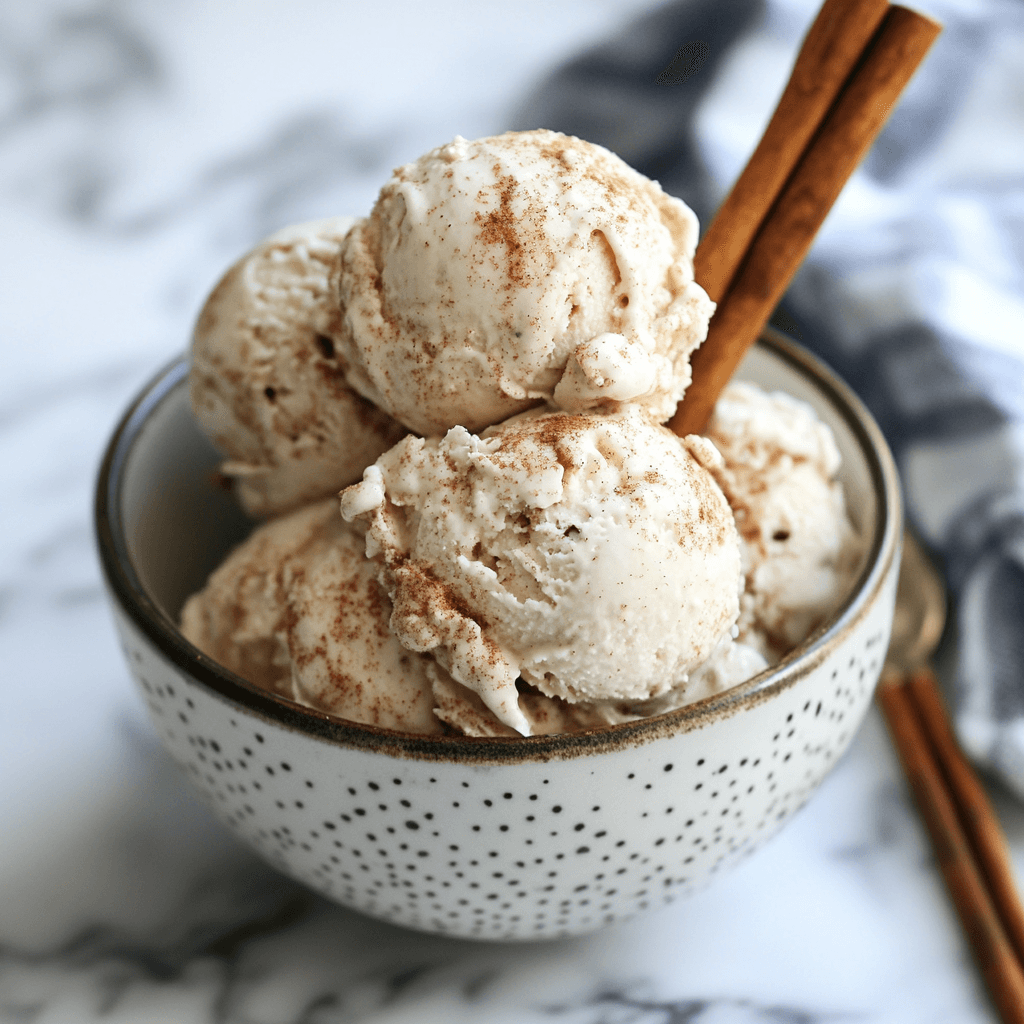
Dreamy Homemade Cinnamon Swirl Coconut Milk Ice Cream is a treat like no other. This article will guide you through the process of making this delicious dessert from scratch. We’ll cover the essential ingredients, equipment, and steps to create a unique flavor that’s both vegan and paleo-friendly. But before we dive in, let’s hear from Chef Emma, who shares her experience with this recipe:
“I was blown away by how creamy and rich this ice cream turned out! The cinnamon swirl adds a warm and comforting flavor that’s perfect for any time of the year. I’ve made it with and without an ice cream maker, and both ways yield amazing results.” – Chef Emma
Nutrition Facts (per serving):
| Nutrient | Value |
|---|---|
| Calories | 220 |
| Fat | 14g |
| Saturated Fat | 10g |
| Carbohydrates | 25g |
| Fiber | 2g |
| Sugar | 15g |
| Protein | 2g |
Ingredients and Quantities:
| Ingredient | Quantity |
|---|---|
| Full-fat coconut milk | 1 can (14 oz) |
| Cashew butter | 1/4 cup |
| Maple syrup | 1/4 cup |
| Cinnamon powder | 1 tsp |
| Vanilla extract | 1 tsp |
| Salt | 1/4 tsp |
Contents
show
What is Homemade Cinnamon Swirl Coconut Milk Ice Cream?
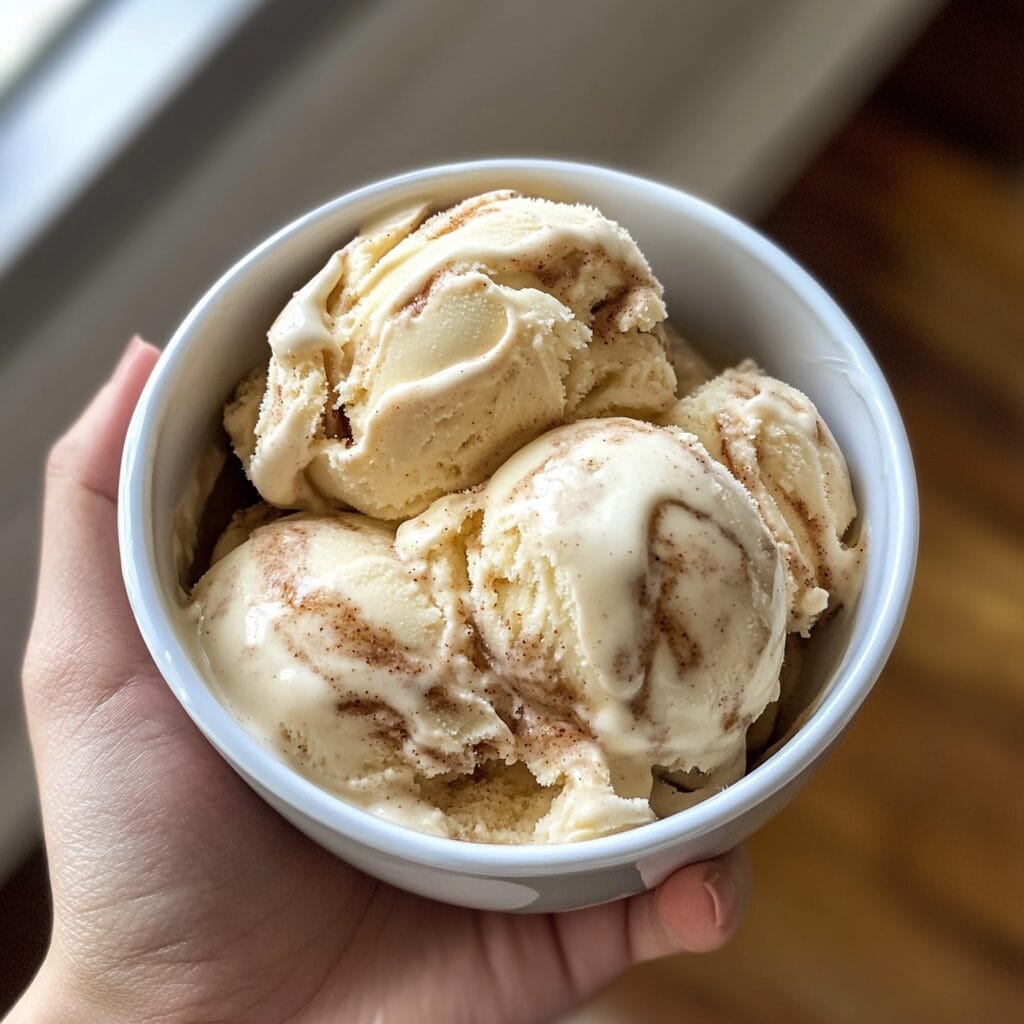
Homemade Cinnamon Swirl Coconut Milk Ice Cream is a unique dessert that combines the creaminess of coconut milk with the warmth of cinnamon. This ice cream is made with a few simple ingredients and can be customized to suit your taste preferences. With its smooth texture and delicious flavor, it’s perfect for hot summer days or as a special treat any time of the year.
Benefits of Making Homemade Ice Cream with Coconut Milk
Making homemade ice cream with coconut milk has several benefits. Coconut milk is a great dairy-free alternative that’s rich in healthy fats and can help lower cholesterol levels.
Additionally, homemade ice cream allows you to control the ingredients and sugar content, making it a healthier option compared to store-bought ice cream. Plus, it’s a fun and creative way to experiment with different flavors and ingredients.
Ingredients and Equipment Needed
Essential Ingredients for Homemade Cinnamon Swirl Coconut Milk Ice Cream
To make delicious Homemade Cinnamon Swirl Coconut Milk Ice Cream, you’ll need a few essential ingredients. These include:
-
Full-fat coconut milk: This is the base of your ice cream, providing creaminess and richness.
-
Cashew butter: This adds a smooth and nutty flavor to your ice cream.
-
Maple syrup: This natural sweetener adds sweetness without refined sugars.
-
Cinnamon powder: This warm spice gives your ice cream a unique and comforting flavor.
-
Vanilla extract: This adds a hint of sweetness and creaminess.
-
Salt: A pinch of salt enhances the flavors and textures.
Equipment Needed: Ice Cream Maker or Not?
You can make Homemade Cinnamon Swirl Coconut Milk Ice Cream with or without an ice cream maker. If you have an ice cream maker, it will churn the mixture to a smooth and creamy texture. If not, don’t worry! You can still achieve great results by freezing the mixture and blending it in a food processor once it’s frozen solid.
Choosing the Right Coconut Milk for Your Ice Cream
When selecting coconut milk for your Homemade Cinnamon Swirl Coconut Milk Ice Cream, look for full-fat versions. These have a higher fat content, which will give your ice cream a richer and creamier texture. You can also chill the coconut milk in the fridge overnight and scoop out the solid coconut cream to use in your recipe.
Making Homemade Cinnamon Swirl Coconut Milk Ice Cream
Step-by-Step Guide to Making Coconut Milk Ice Cream
Making Homemade Cinnamon Swirl Coconut Milk Ice Cream is a straightforward process. Here’s a step-by-step guide:
-
Combine the coconut milk, cashew butter, maple syrup, and vanilla extract in a blender.
-
Blend the mixture until smooth and creamy.
-
Pour the mixture into a container and chill it in the fridge for at least 2 hours.
-
If using an ice cream maker, churn the mixture according to the manufacturer’s instructions.
-
If not using an ice cream maker, pour the mixture into a freezer-safe container and freeze for 2-3 hours, blending it every 30 minutes until smooth.
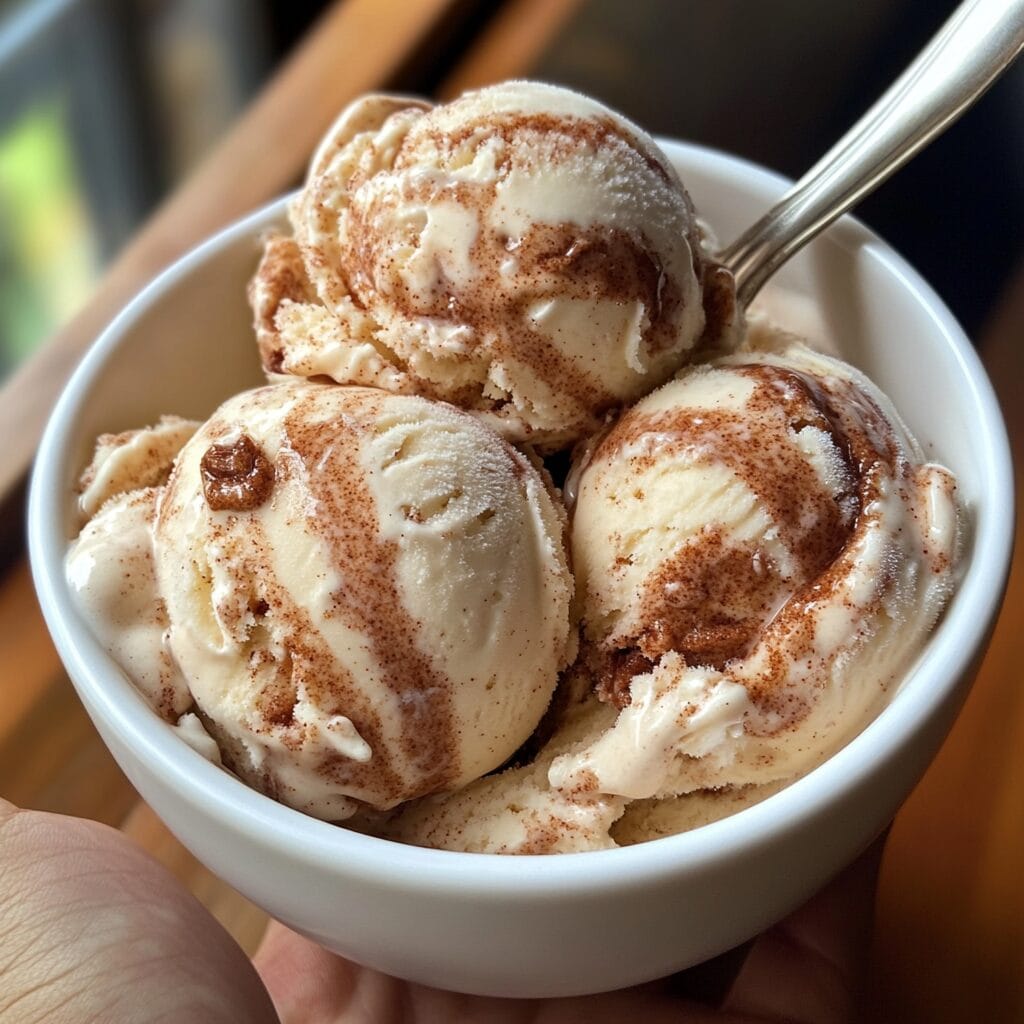
Creating the Cinnamon Swirl: Tips and Tricks
To create the cinnamon swirl, mix a tablespoon of cinnamon powder with a tablespoon of maple syrup. Drizzle this mixture into your ice cream mixture and use a spatula or spoon to create a swirly pattern. You can also add a pinch of cinnamon powder on top of your ice cream for extra flavor and texture.
Mixing and Churning: The Key to a Smooth Texture
The key to a smooth texture in your Homemade Cinnamon Swirl Coconut Milk Ice Cream is to churn the mixture slowly and consistently. If using an ice cream maker, follow the manufacturer’s instructions. If not, blend the mixture every 30 minutes until it’s smooth and creamy. This will help to break down the ice crystals and create a smooth texture.
Customizing Your Homemade Cinnamon Swirl Coconut Milk Ice Cream
What Can I Use Instead of Cashew Butter in My Homemade Cinnamon Swirl Coconut Milk Ice Cream?
If you don’t have cashew butter or prefer a different flavor, you can use other nut butters like almond butter or peanut butter. These will give your Homemade Cinnamon Swirl Coconut Milk Ice Cream a unique taste. Keep in mind that different nut butters have different flavor profiles, so you might need to adjust the amount of cinnamon or vanilla extract to balance the taste.
Preventing the Coconut Taste from Overpowering the Ice Cream
To prevent the coconut taste from overpowering your Homemade Cinnamon Swirl Coconut Milk Ice Cream, use high-quality coconut milk and balance the flavors. You can add more cinnamon, vanilla extract, or a pinch of salt to mask the coconut flavor. Additionally, using full-fat coconut milk will give your ice cream a richer and creamier texture, making the coconut flavor less dominant.
Adding Mix-ins: Nuts, Seeds, or Chocolate Chips to Your Homemade Cinnamon Swirl Coconut Milk Ice Cream?
Adding mix-ins is a great way to customize your Homemade Cinnamon Swirl Coconut Milk Ice Cream. You can try adding chopped nuts like walnuts or pecans for a crunchy texture. Seeds like chia or flax can add extra nutrition and texture. If you’re a chocolate lover, you can add dark chocolate chips or cocoa nibs for a chocolatey twist.
For more delicious recipes, check out our Decadent Peanut Butter Caramel Tart.
Dietary Considerations and FAQs
Is This Ice Cream Recipe Vegan and Paleo-Friendly?
Yes, this Homemade Cinnamon Swirl Coconut Milk Ice Cream recipe is both vegan and paleo-friendly. It’s made with coconut milk, cashew butter, and natural sweeteners like maple syrup, making it a great option for those with dietary restrictions.
FAQs:
Can I Make This Ice Cream Without an Ice Cream Maker?
Yes, you can make this ice cream without an ice cream maker. Simply freeze the mixture and blend it every 30 minutes until it’s smooth and creamy.
How Long Does the Ice Cream Need to Freeze Before Serving?
The ice cream typically needs to freeze for at least 2-3 hours to harden before serving. If you’re using an ice cream maker, follow the manufacturer’s instructions.
What are Some Common Issues with Coconut Milk Ice Cream?
Some common issues with coconut milk ice cream include ice crystals forming or the ice cream being too hard. To prevent this, make sure to blend the mixture regularly while it’s freezing, and store it in an airtight container.
Can I Use Other Types of Milk Instead of Coconut Milk?
Yes, you can experiment with other non-dairy milks like almond milk or oat milk. However, keep in mind that the texture and flavor might be different, and you might need to adjust the recipe accordingly.
Tips and Variations for Perfect Homemade Cinnamon Swirl Coconut Milk Ice Cream
Achieving the Perfect Consistency: Tips and Tricks
To achieve the perfect consistency in your Homemade Cinnamon Swirl Coconut Milk Ice Cream, make sure to chill the mixture thoroughly before freezing. If the ice cream becomes too hard, you can let it sit at room temperature for a few minutes to soften. Additionally, blending the mixture regularly while it’s freezing will help to break down ice crystals and create a smooth texture.
Flavor Variations: Different Spices and Extracts to Try
You can experiment with different spices and extracts to create unique flavor variations of your Homemade Cinnamon Swirl Coconut Milk Ice Cream. Try adding a pinch of nutmeg or cardamom powder for a warm and aromatic flavor. You can also use different extracts like almond or coconut extract to enhance the flavor.
Storing and Serving: How to Keep Your Ice Cream Fresh
To keep your Homemade Cinnamon Swirl Coconut Milk Ice Cream fresh, store it in an airtight container in the freezer. When serving, scoop the ice cream into cones or bowls and enjoy! You can also top it with your favorite fruits, nuts, or chocolate sauce for added flavor and texture.
Final Tips and Reminders
-
Always chill the mixture thoroughly before freezing to achieve the perfect consistency.
-
Blend the mixture regularly while it’s freezing to break down ice crystals and create a smooth texture.
-
Experiment with different spices and extracts to create unique flavor variations.
-
Store the ice cream in an airtight container in the freezer to keep it fresh.
By following these tips and guidelines, you’ll be well on your way to making delicious Homemade Cinnamon Swirl Coconut Milk Ice Cream that’s sure to impress your friends and family!
More Delicious Variations of Homemade Cinnamon Swirl Coconut Milk Ice Cream
Adding Fresh Fruits to Your Homemade Cinnamon Swirl Coconut Milk Ice Cream
One of the best things about Homemade Cinnamon Swirl Coconut Milk Ice Cream is that you can customize it to your taste. Try adding fresh fruits like strawberries, blueberries, or raspberries to create a fruity twist. Simply blend the fruits into the ice cream mixture or fold them in after the ice cream has finished churning.
Creating a Chocolate Version of Homemade Cinnamon Swirl Coconut Milk Ice Cream
If you’re a chocolate lover, you can create a chocolate version of Homemade Cinnamon Swirl Coconut Milk Ice Cream by adding cocoa powder or melted chocolate to the mixture. This will give your ice cream a rich and decadent flavor that’s perfect for satisfying your sweet tooth.
Conclusion
Enjoy the Deliciousness of Homemade Cinnamon Swirl Coconut Milk Ice Cream
In conclusion, homemade cinnamon swirl coconut milk ice cream is a delicious and versatile dessert that’s perfect for any occasion. With its creamy texture and warm cinnamon flavor, it’s sure to become a favorite in your household. Whether you’re a seasoned ice cream maker or a beginner, this recipe is easy to follow and fun to customize.
So go ahead, give it a try, and enjoy the deliciousness of Homemade Cinnamon Swirl Coconut Milk Ice Cream!
By following this recipe and tips, you’ll be able to create a unique and delicious dessert that’s perfect for hot summer days or any time of the year. Happy ice cream making!